
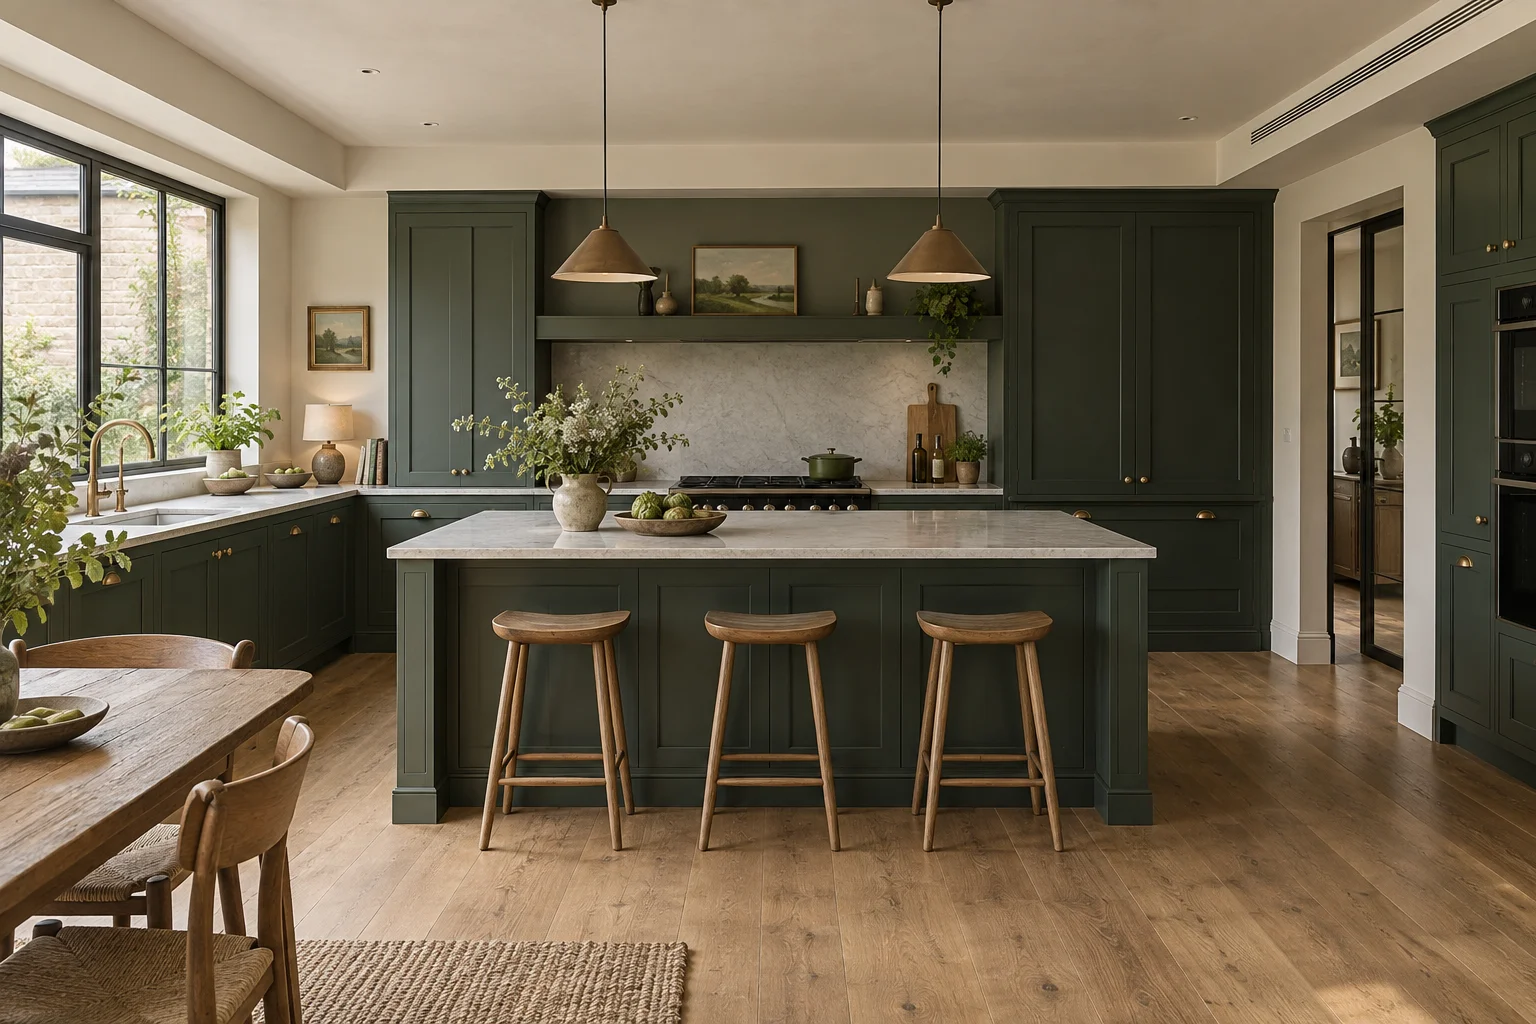
More than one way to make it disappear
Above the ceiling
Where there is enough void, a concealed unit can sit out of sight and deliver air through a slim ceiling grille.
Inside a dropped section
A carefully placed bulkhead can create room for the unit and its ductwork without lowering the whole ceiling.
Placed in the room
Where concealment would compromise the architecture, a wall unit can be positioned deliberately while its pipework disappears into the build.
Mixed across the house
The same answer does not have to go in every room. We can combine approaches around the spaces, structure and budget.
Designed with you and your architect
Some clients come to us with finished drawings. Others bring us in while the plans are still moving. We can work directly with you and your architect to consider ceiling voids, bulkheads, grille positions, pipe routes, access and the outdoor unit while those decisions are still open.
We mark up the drawings with room-by-room loads, equipment positions, the void depth we need and the services the builder and electrician need to allow for. The design develops with the renovation.
Once the layout is agreed, your written quote brings the units, pipework, planned site visits and commissioning into one figure before the work begins. We square the split of work, access, the dedicated circuit and consents with your builder.
What is left to see
A grille
With a concealed system, a slim linear grille is set out as part of the ceiling design with your architect.
A control
A flat control on the wall of each zone, about the size of a light switch.
An access panel
Usually in a cupboard or hallway ceiling, so the filter and drain can be reached. Every concealed system needs one.
An outdoor unit
Against an outside wall or on a flat roof, planned around structure and neighbouring property, with the noise figure supplied for the planning check.
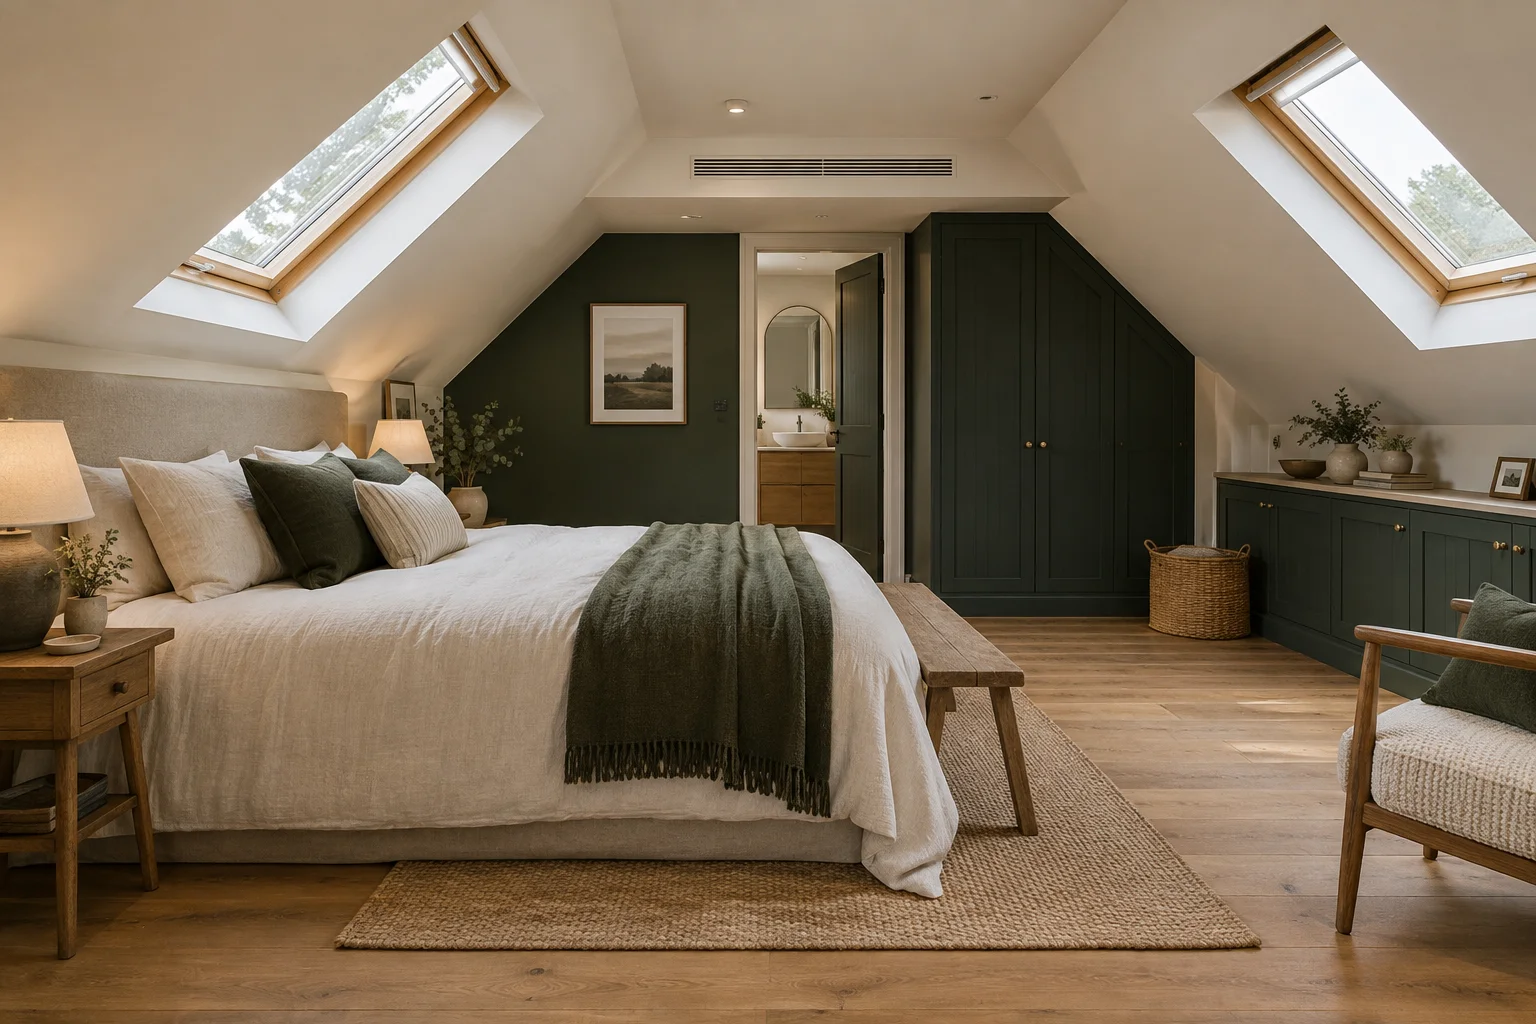
A concealed system costs more than a unit on a wall. Where there is no void, the structure cannot be altered, or a dropped ceiling would spoil the room, we say so and design around it.
Where we sit in your build
- 01
Design
Options, structure, routes and access coordinated while the ceilings are still on paper.
- 02
First fix
Pipework, condensate and power go in, pressure-tested with nitrogen and left holding.
- 03
Plaster
The house closes over the tested system and your programme carries on.
- 04
Second fix
Units, grilles and controls installed, commissioned and run in both directions.
- 05
Sign-off
Handed over with the rest of the build, with a written guarantee.
Bring us in before the routes are fixed
Tell us where the project has reached and attach any plans you have. We will identify what needs deciding before first fix.
Tell us where the build has reached and attach any drawings you have.